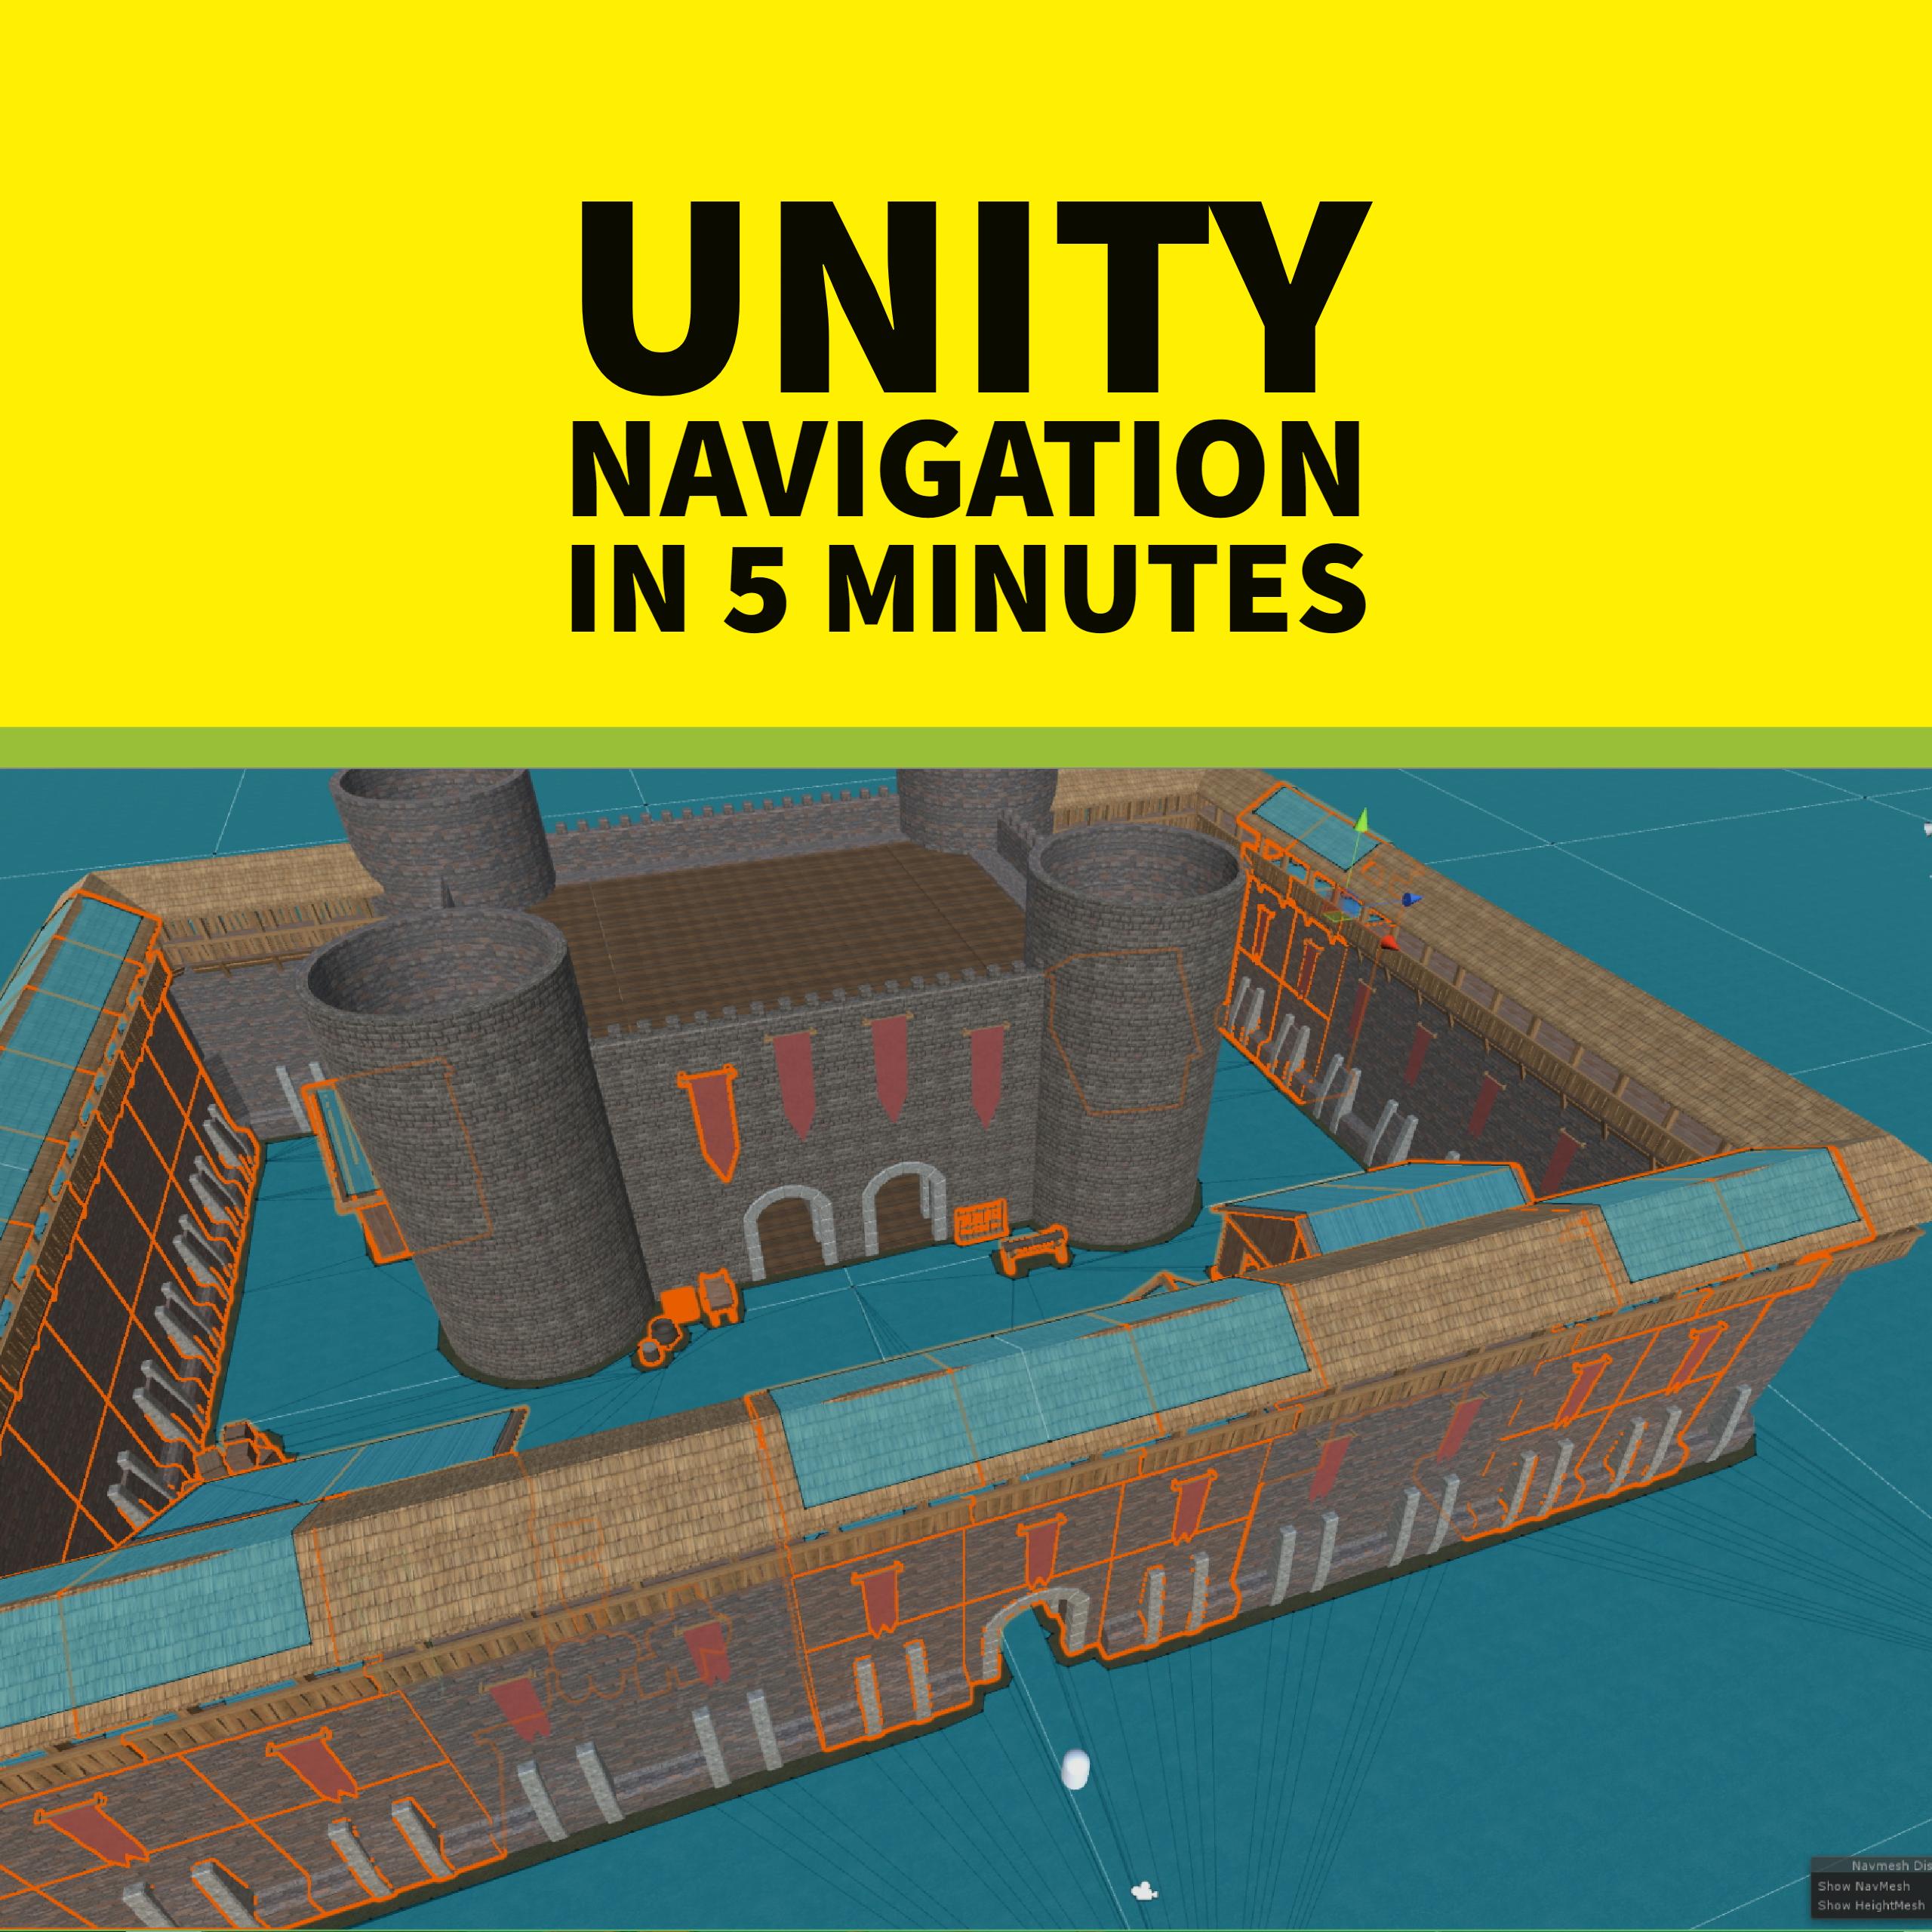
In this article I’ll explain some of the basics of the Unity Navigation System. We’ll bake a navmesh, setup the walkable area, and show how to use the navmeshagent to control the character’s movement.
Video Version
Getting Started
To get started, I imported an asset pack, but you can use anything you want, even a simple plane.
Select the meshes in your scene that you want the character to navigate on and check the NavigationStatic box in the inspector.
Checking this box tells the navigation system that we want to have the mesh considered for navigation.
But we also want those buildings to be considered.. since they’re ‘blocking‘ the area.
So we need to set Navigation Static on any mesh that’s touching our navigable area.
Baking the Navmesh
Now open the Navigation window under Window->Navigation
On the Bake Tab, select Bake.
Making Areas Not Walkable
If you see areas like this where you don’t want the character navigating, but are blue..
You’ll need to select them and change their navmesh layer to “not walkable”
This tells the system that they need to block navigation, but not be walkable themselves.
Controlling a Character
For this sample, I’ve created a capsule to be my character.
Add a NavMeshAgent to the capsule and place it near the ground.
Now we need a custom script to read input and tell the agent where to go.
Create this NavMeshClickController script and add it to the capsule.
Let’s take a look at what’s going on here..
In the Update method, we’re checking for the user to click the mouse with Fire1.
If they do, we create a ray into the scene from where the player clicked.
We take any hit point on that ray and tell the NavMeshAgent to set it’s destination.
If that point is on the NavMesh, the agent will start walking there. If it’s not, nothing will happen.
Important Note
We must have a MainCamera for this to work. Because we’re using Camera.main, if there’s no camera with the mainCamera tag set, we’ll have a null reference exception.
For my example, I created a camera, tagged it as mainCamera, and made it a child of the character so it would follow the character around.
Conclusions
The navigation system in Unity is really powerful and can do a whole lot more than I’ve shown here. If you have characters that need to walk around, you should definitely consider using this system for them. It’s not perfect for every situation, but it’s usually a great option, and always worth considering.


