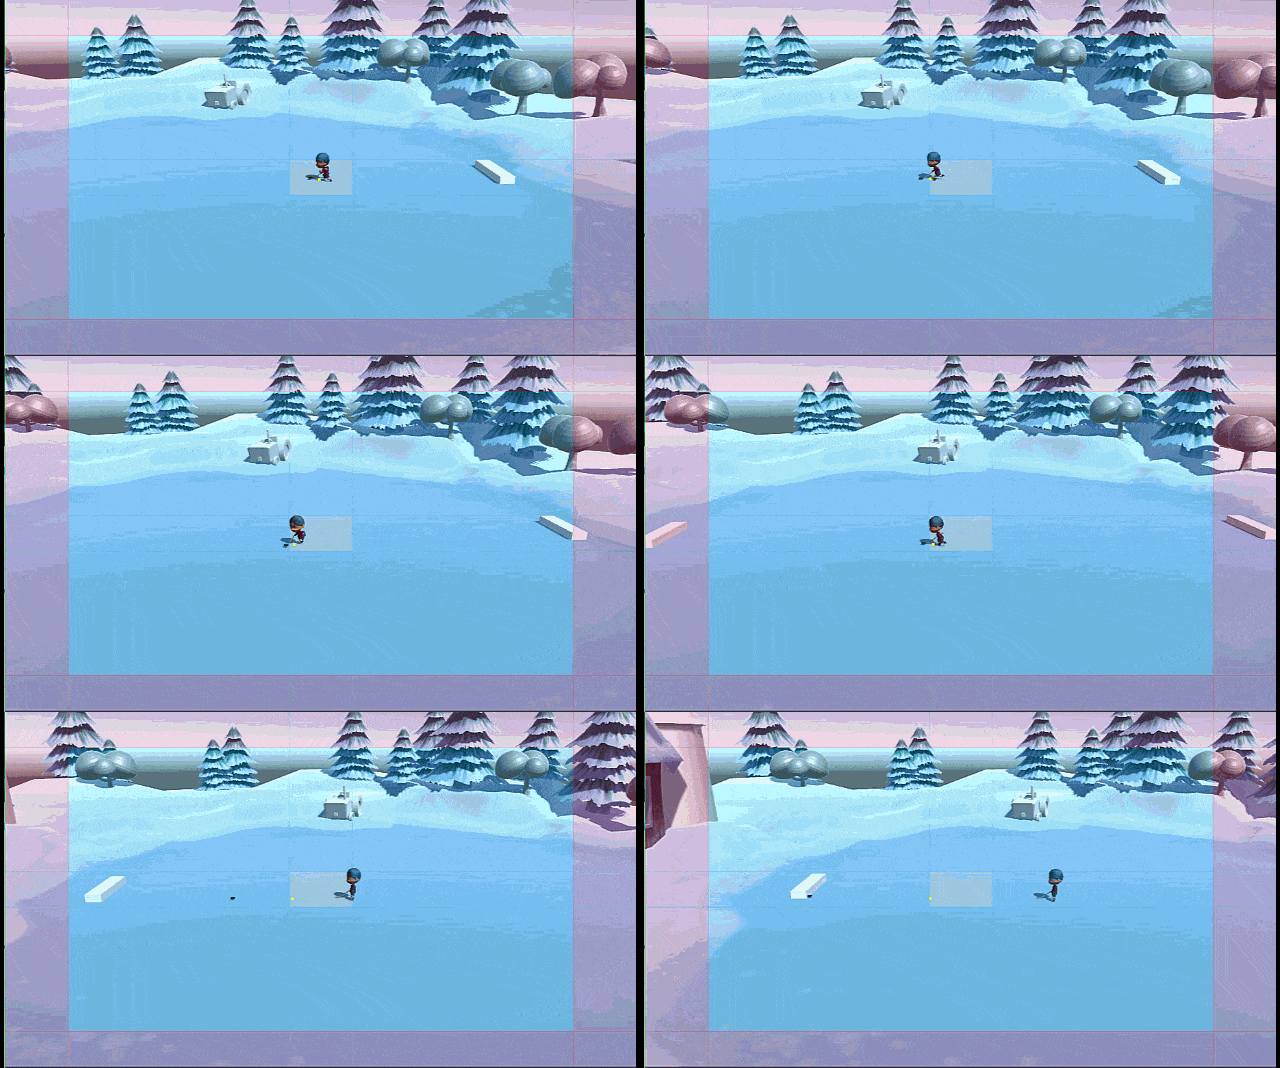
Unity Cinemachine is a new tool to make camera management easy and awesome. It’s loaded up with functionality to make good camera shots simple to setup in your Unity game or application. I’ve only just started experimenting with it and I’m extremely impressed by the quality and ease of use it provides. If you want to make a cinematic, it’s the perfect tool.. but it’s also perfect for most gameplay scenarios as well. Today, I’ll cover the Auto Dolly feature I’m using from Cinemachine for a project I’m working on. Auto Dolly is a feature that mimics a real life camera dolly with an operator keeping the best shot for you ‘automatically’.
Unity Cinemachine Setup
The Cinemachine functionality is added through an asset pack available on the asset store here: https://www.assetstore.unity3d.com/en/#!/content/79898
Before Cinemachine
Here I have a simple scene with a character fake skating around. The camera’s locked in to cover the entire scene. It ‘works’ but it’s kinda lame. Let’s fix it up with Cinemachine & Auto Dolly!
Creating the Camera & Dolly
Cinemachine adds a menu to your toolbar. Under that menu are a variety of different camera types you can setup.
Today, we’ll add the Dolly Camera with Track.
Clicking this button adds a few things to our scene AND modifies our camera.
The icon on the Main Camera indicates that it now has a Cinemachine Brain. We won’t dig into the details of the brain in this post, but take a quick look at the inspector to get an idea of what it can do.
Positioning the Dolly Track
Before we can really see anything, we need to position the Dolly Track. Here, I’ve moved into a spot where I feel I have a good view and repositioned the track.
Ctrl-Shift-F is the hotkey to reposition an the selected object to your current scene view camera location and orientation.
Adding Waypoints
Next, we need to add a waypoint to the dolly, this is going to be the far left point for my example, but you can re-arrange waypoints at will, so there’s no need to create them in any specific order.
To add a waypoint, click the big button titled “Add a waypoint to the path”
Each waypoint has a position offset from the dolly track’s transform position.
For the first waypoint, I want to zero out the Z value so it lines up exactly with where the dolly track starts.
Look At Target
Let’s take a quick look at the CM vcam1 gameobject.
This is our virtual camera. Cinemachine uses this object to determine where the camera should be and how it should act. You can have multiple virtual cameras and do smooth transitions between them (that’s one of the great things about Cinemachine).
Today though, we’re going to stick with a single VCam, but allow it to move along the dolly path.
Before we go further with the dolly though, let’s make the VCam work as a stationary camera.
For this game, I want the player to be focused at all times, to do that, we’ll set the “Look At” field on the Virtual Camera to the player model “Ace_01”.
What’s this look like?
As you can see, we already have a slighty more interesting camera. It’s tracking the player and keeping them center frame. The guides you see are provided by Cinemachine to give you an idea what it’s doing (trying to keep the player int hat middle box). As you adjust properties on the VCam, you’ll see the guide visuals adjust as well.
Back to The Dolly Track
With the camera sitting in one place, we can keep an eye on the player, but he does get far away. The Dolly system will fix this.
Adding a waypoint
For the Dolly to work, we need another waypoint.
To do this, I click the Add waypoint button and change the X position.
I’ve also repositioned my DollyTrack1 object so that the ends are pretty equidistant from the center of the ice lake.
IMPORTANT – FOLLOW TARGET
If we hit play now, you won’t notice a change. The camera won’t move along the dolly because the camera doesn’t know it’s allowed to follow something.
To fix this, I’ll select the Virtual Camera and assign “Ace_01” to the “Follow” field.
IMPORTANT – One more Checkbox
There’s one more thing we need to do.. check the Auto Dolly Enabled box.
Check it out!
Here you can see what it looks like with the camera sliding along the dolly, keeping the player close and in-frame the entire time.
If you look at the Scene view, you can see the camera sliding along.
Let’s make it better with a TargetGroup!
Right now we have a great view of our player, but what about when you want to go after that puck? Having it off-screen makes that kinda difficult.
No problem though, we can address this with the TargetGroup component.
Create a new gameobject and add the “Cinemachine TargetGroup” component
The TargetGroup allows us to specify a # of targets. For this game, I want to add our player model and the puck.
We also want to give the player a bit more weight to keep them more in-frame the entire game.
Assigning the Target Group to the Virtual Camera
To switch to a group, we just replace the Aim and Follow field values with our new TargetGroup.
The Result
Conclusion
This example barely scratches the surface of Cinemachine but already shows how easy it is to get great camera effects with no code and very little work. I plan to continue digging into Cinemachine and share as I do. If you’re building a game in Unity 2017, I definitely recommend you give Cinemachine a try.


