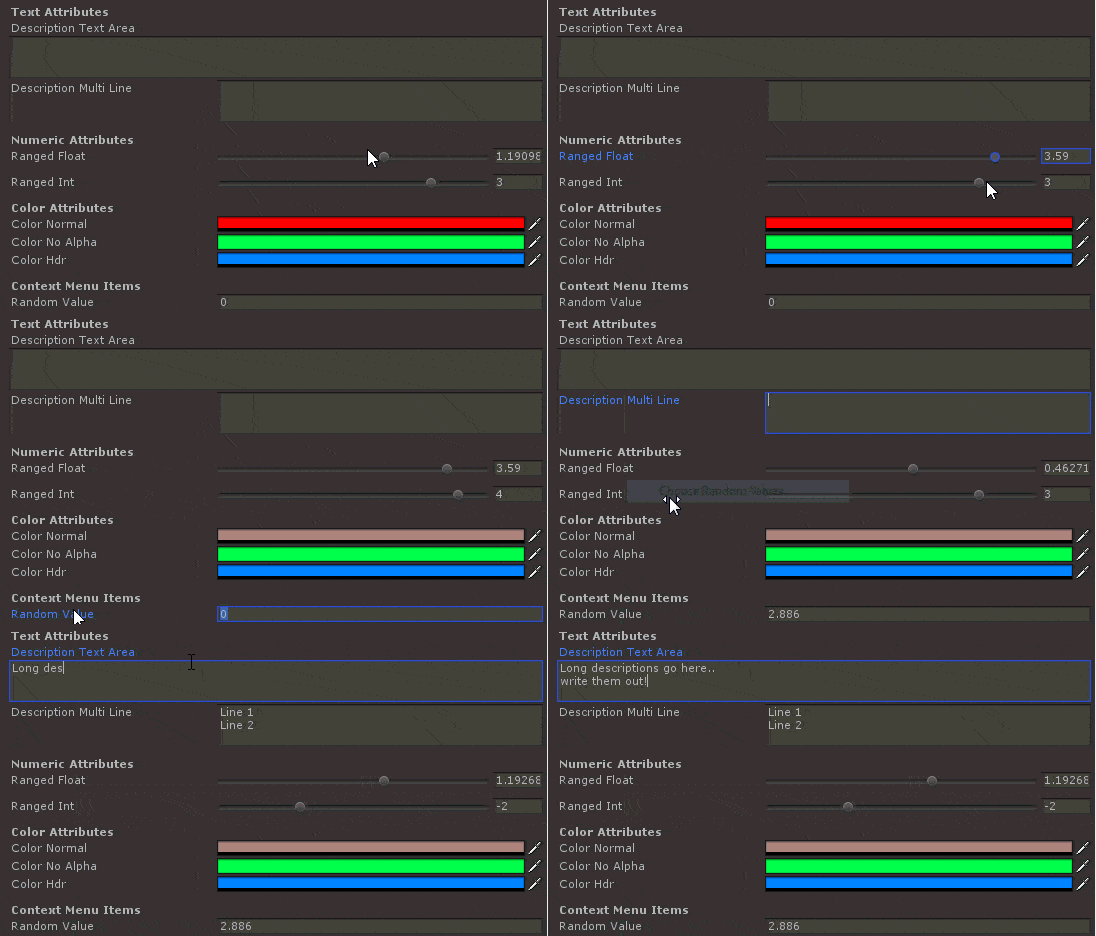
Unity has a variety of Property Attributes you can use to make the inspector easier to use, save you time, and prevent mistakes. Using these Unity Attributes, you can clamp values to acceptable ranges, customize Color settings, or even quickly add custom actions to your inspector window.
Today, we’ll cover some of the commonly used Unity Attributes to show both when and how to use them.
SerializeField
The first and most talked about attribute is [SerializeField]. The [SerializeField] attribute tells the editor to make a private field visible in the inspector. Why would you want to use this instead of making the field public? Encapsulation! 🙂
I actually cover that in detail here: Editing Unity variables – Encapsulation & [SerializeField] so I won’t re-explain how important it is now.
SelectionBase
The SelectionBase attribute is one of my favorites and probably one of the most overlooked. If you’ve ever setup a gameobject where all the meshes are children of your actual object you’ve probably been frustrated trying to click the object in the scene view. Without this attribute, the child with the mesh will take the selection, then you get to dig through the hierarchy and select the parent.
SelectionBase fixes that situation and makes selecting your gameobject easy. Simply add the [SelectionBase] attribute to your monobehaviour and next time you click on the object, the attributed object will be selected.
To see this in action, watch how the parent gameobject is selected when I’ve added a component that contains the [SelectionBase] attribute.
Code
Range
The Range attribute allows you to set acceptable ranges for your numeric fields. Maybe you’re working with a spawn or reload timer and only positive values are acceptable. By adding the [Range] attribute, you can limit the values in the inspector and provide a good indication of reasonable values with the slider.

Code
Text Area & MultiLine
The [TextArea] Attribute tells the editor you want a textbox. This is useful for longer strings like dialog text or descriptions. The [MultiLine] attribute is similar but places the textbox on the right side instead of below the label.
Code
ColorUsage
The [ColorUsage] attribute isn’t one I’ve used much personally. It allows you to set some constraints on a color picker, like disabling the alpha channel or setting minimum and maximum brightness values.
Headers & Spacing
You can organize your variables into groups easily with the [Header] attribute. Just put it above the first field you want in the group. Don’t add it to each item though, it’s not a grouping mechanism and only creates a header before that field is rendered.
You can see below how I’ve organized all my examples into separate areas using the [Header] attribute. And if you just want to add a little spacing without a header, the [Space] attribute will accomplish that for you (look between the two sliders)
Code
You can see on line 1 I create a header called “Numeric Attributes”
On line 7, I’ve added the [Space] attribute to put a tiny space between the sliders.
ContextMenuItem
The ContextMenuItem attribute allows you to create a right click context menu on the label of a specific field. Add the attribute with the text and method name to call, and when you right click on the field you’ve attributed, you’ll see the dialog like this.
Code
ContextMenu
You can also add a context menu for the entire component. To do that, you’ll attribute a method instead of a field. You can access and execute the method from the editor by right clicking or using the gear.
Code
Conclusions
The Unity editor is an amazing tool. Attributes are helpful… Use them.. 🙂
Also if you want the complete sample code, it’s right here:


